Step 1. Open Run and type services.msc and click OK.
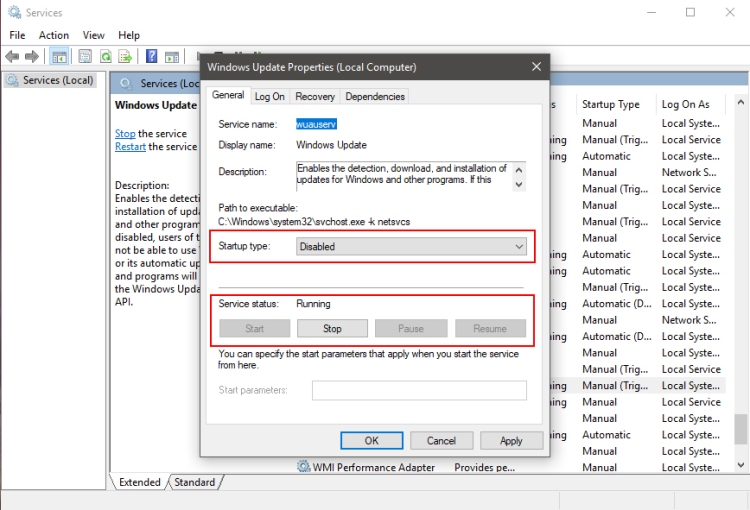
Step 2. Find Windows Update and Right click Windows Update and select Properties. On General>Service status select Stop and on Startup type select disabled.
On Recovery>First Failure set as Take No Action and on Reset fail count after to 0 days.
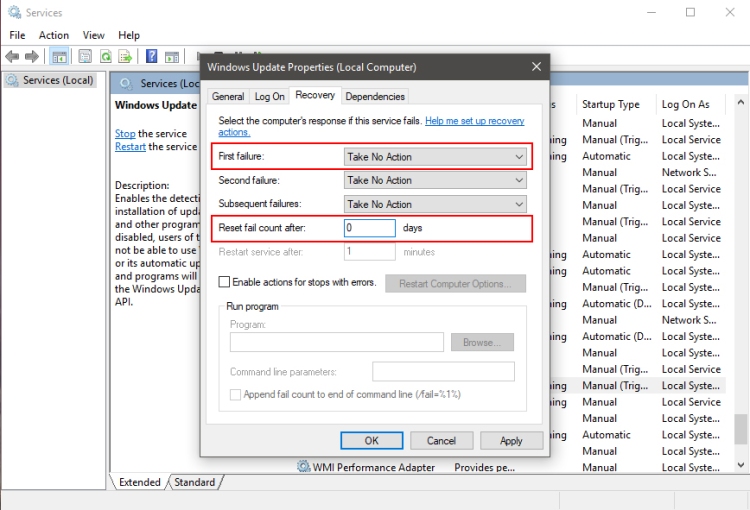
Select Apply>OK. Close services.msc.
Step 3. Open Run and type regedit and click OK. Navigate to
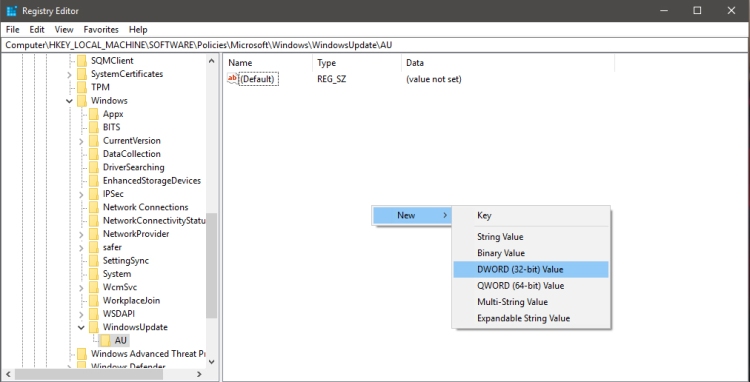
HKEY_LOCAL_MACHINE>SOFTWARE>Policies>Microsoft>Windows
Right click on Windows folder and select New>Key and rename as WindowsUpdate. Now we create another folder in WindowsUpdate folder. So navigate WindowsUpdate right click on Windows folder and select New>Key and rename as AU. Inside AU folder right click and select New>Key>DWORD (32 – bit) Value and rename as AUOptions.
Set Value data as 2 click OK.
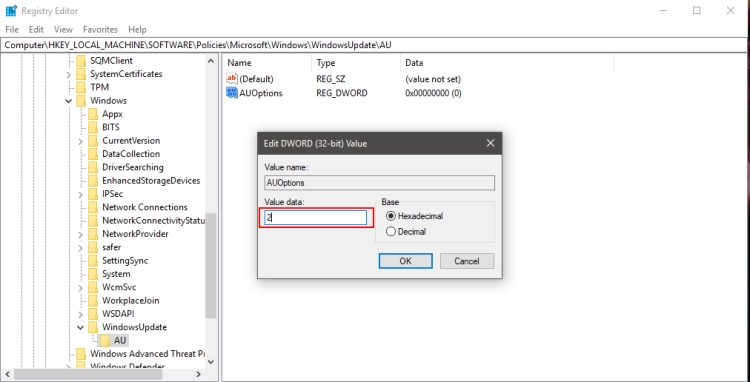
Close regedit.
Step 4. To make sure Windows Update permanently disabled. Go to
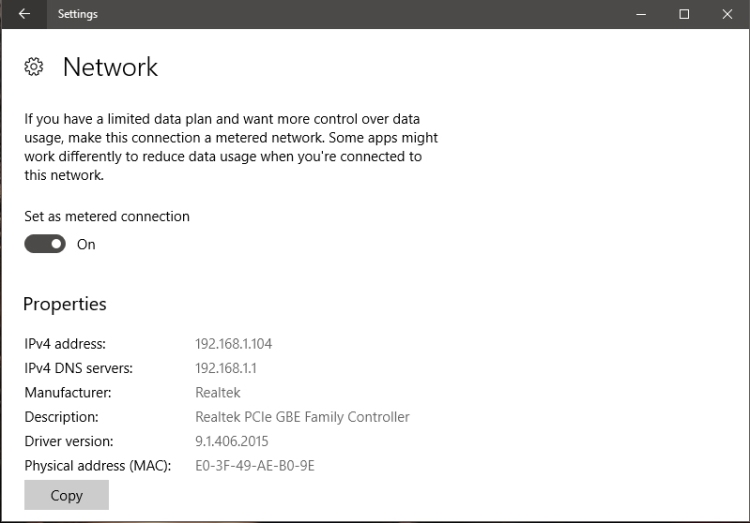
Start>Settings>Network & Internet
Select Ethernet/Wi-fi and click on the connected network and set Set as metered connection to ON.
Close Settings.
Step 5. Next go to start and search gpedit.msc.
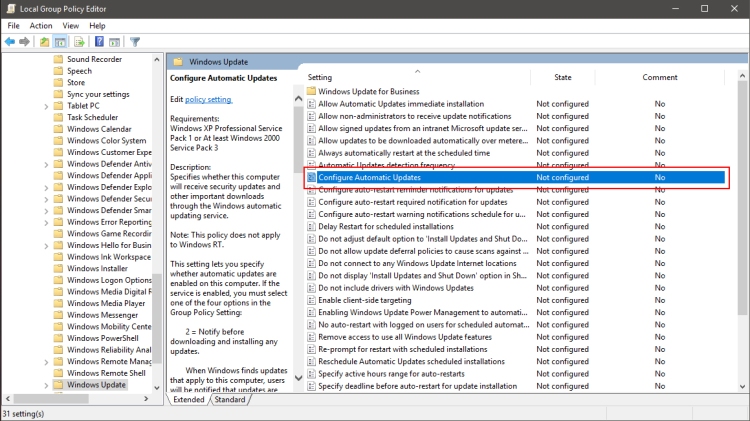
Go to Administrative Templates>Windows Components>Windows Update and select Configure Automatic Updates.
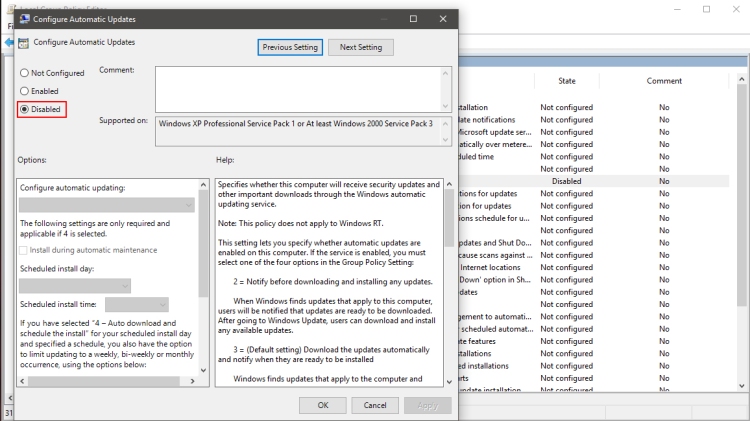
Double click Configure Automatic Updates and select Disabled and click Apply>OK.
Close gpedit.msc.
Step 6. Next go to start and search Task Scheduler.
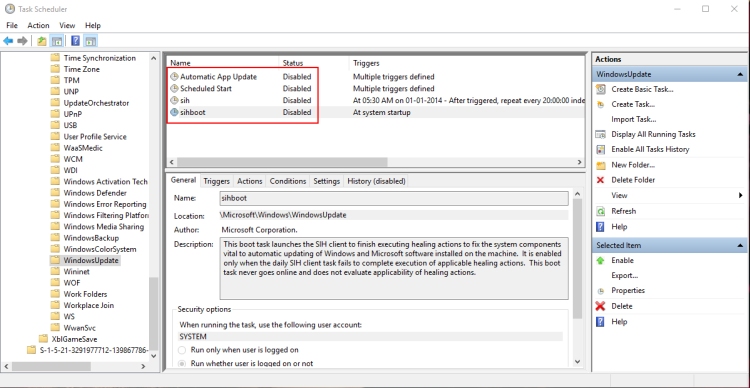
Task Scheduler Library>Microsoft>Windows>WindowsUpdate
Disable the Automatic App Update, Scheduled Start, sih, sihboot.
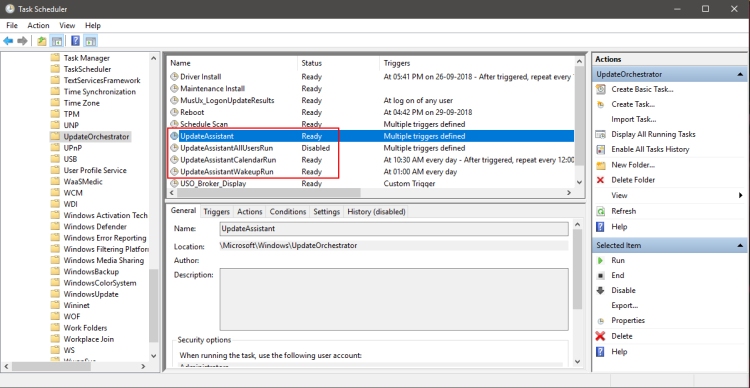
Now go to UpdateOrchestrator
Disable the UpdateAssistant, UpdateAssistantAllUsersRun, UpdateAssistantCalenderRun, UpdateAssistantWakeupRun.
Close Task Scheduler.
All Done!
